UV Mapping: Wrapping a Flat Image Around a Shape
Every textured model hides a flattened map of itself, and the quality of that map, its seams, its stretching and its use of space, decides whether a painted image looks like skin or like wallpaper.
A texture is a flat thing. It is a rectangle of pixels, painted or photographed or computed, with a width and a height and nothing more, and yet we ask it to clothe a barrel, a face, a twisted root, a whole crumbling tower. Between the flatness of the image and the roundness of the shape there must be some agreement about which pixel belongs to which point of the surface, and that agreement, stored quietly inside every textured mesh, is what artists and programmers call the UV map.
The idea is old in spirit. Cartographers have struggled for centuries to lay the surface of a sphere onto a sheet of paper, and they learned, often bitterly, that it cannot be done without cutting or stretching something. The same law governs a three dimensional model. Any surface more complicated than a flat card must be cut open somewhere and flattened with some distortion, and the craft of UV mapping is the craft of choosing where to cut and how much distortion to tolerate.
What follows is an account of that craft as it touches a working game developer: the coordinates themselves, the seams that the GPU forces upon us, the patient work of unwrapping, the economics of pixels spread across a surface, the clever and dangerous habit of overlapping, and finally the second map that Unity asks for when light is to be baked into a scene rather than computed afresh each frame.
Two Letters and a Unit Square
The letters U and V are chosen simply because X, Y and Z were already taken by the world. U runs horizontally across the texture and V runs vertically, and both are normalized, so that the whole image, whatever its pixel dimensions, occupies the square from 0 to 1 in each direction. A coordinate of (0.5, 0.5) means the exact centre of the texture, whether that texture is 256 pixels wide or 4096; the mesh does not need to know or care which resolution will eventually be supplied.
Each vertex of a mesh carries one such pair alongside its position and its normal. In Unity these pairs live in the Mesh class, in the array exposed as Mesh.uv, one Vector2 for every vertex. When the GPU draws a triangle it interpolates the three UV pairs across the face, so that every pixel inside the triangle receives a coordinate somewhere between those of its corners, and the fragment shader uses that coordinate to sample the texture. The triangle, in effect, cuts its own small shape out of the image.
Coordinates outside the unit square are perfectly legal. What happens to them depends on the wrap mode of the texture: with Repeat, a value of 1.25 samples the same place as 0.25, so the image tiles endlessly, which is exactly what one wants for a stone floor or a long plank wall; with Clamp, the edge pixels are smeared outward instead. Tiling is the cheapest way to cover a large surface with detail, and many environment meshes deliberately stretch their UVs far beyond the square to exploit it.
Seams and the Duplicated Vertex
Here the first hard truth arrives. A vertex on the GPU can hold only one UV coordinate per channel, yet a corner of a cube touches three faces, and if those faces are laid out in different parts of the texture, that corner must exist at three different places in UV space at once. The only solution is to split it: the mesh stores three vertices at the same position, each with its own coordinate. This is why Unity's default cube reports twenty four vertices rather than eight.
The edges along which this splitting happens are called seams. On the flat map a seam appears as a boundary where one piece of the mesh ends and another begins, sometimes far away on the sheet, and on the model it appears, if one is careless, as a visible line where the texture fails to continue. A painted crack that runs up a wall and suddenly jumps sideways at a corner is the classic symptom of a seam placed without regard for the image that would cross it.
Seams therefore carry two costs. There is the artistic cost of a visible discontinuity, which a skilled texture artist hides by placing cuts where the eye rarely lingers: under the arms of a character, along the inside of a sleeve, at the back of a helmet, in the natural creases of a building. And there is the technical cost of extra vertices, which is small for a single prop but accumulates, since every split vertex must also be transformed by the vertex shader in every frame.
The Patient Work of Unwrapping
Unwrapping is the act of producing the flat map from the folded mesh. In a modelling tool such as Blender the artist marks seams on edges, then asks the program to unfold the resulting pieces, each of which becomes a uv island lying on the square like a pelt pinned out to dry. The algorithms behind this unfolding try to preserve angles or areas, or some compromise of the two, but no algorithm can flatten a dome without pulling at it somewhere.
The usual way to judge the result is to apply a checker texture, a grid of identical small squares, and look at the model from every side. Where the squares stay square, the mapping is honest; where they stretch into long rectangles or shear into diamonds, the texture will smear in the same way. Experienced artists spend as long correcting this distortion as they spent making the first cuts, relaxing islands, straightening edges that should be straight, and adding a seam where a stubborn region refuses to lie flat.
Once the islands are shaped, they must be packed into the square with some empty space between them. This margin, often called padding, matters more than it seems. When a texture is sampled at a distance the GPU reads from smaller mipmap levels, in which neighbouring pixels have been averaged together, and if two islands sit too close, the colour of one bleeds into the edge of the other. A few pixels of breathing room, and colour dilated outward from each island, keep those edges clean.
Texel Density and the Economy of Pixels
A texture has a fixed budget of pixels, which in this context are called texels, and the UV layout decides how that budget is spent across the surface. Texel density is the measure of this spending, usually counted as texels per meter of world space. Consider a wall two meters wide whose UVs span the full width of a texture 1024 texels across: it receives 512 texels per meter. Stretch the same layout over a wall four meters wide, and the density falls to 256, half the sharpness.
The eye notices inconsistency far more than it notices low resolution. A crisp barrel standing beside a blurry crate looks wrong even when both would look acceptable on their own, because the viewer reads the difference in sharpness as a difference in distance or focus. For this reason art teams usually agree on a target density for a class of assets, perhaps one figure for props near the camera and a lower one for distant terrain, and measure their layouts against it.
There are good reasons to break the rule deliberately. The face of a character deserves more texels than the soles of the boots, which the player will hardly ever see, and an artist may scale the face island up and the boot islands down to spend the budget where attention falls. The point of measuring density is not uniformity for its own sake; it is to make every departure from uniformity a choice rather than an accident.
Overlapping, Mirroring and Their Price
Nothing forbids two islands from occupying the same region of the square. If the left and right halves of a symmetrical shield are mapped onto the same patch of texture, the artist paints the design once and both halves display it, and half the texture is freed for other detail. This is mirroring, and stacked UVs of the same kind are common for repeated parts: the identical rivets around a door, the planks of a fence, the many windows of one house.
The saving has a price that appears in three places. Any detail painted onto a mirrored region appears on both sides, so a scar or a letter of text will be reversed on one of them. Normal maps need care, because the tangent basis flips across the mirror line; Unity stores the direction of the bitangent in the sign of the tangent's w component precisely so that shaders can handle mirrored geometry. And anything that must be unique per point of the surface, above all baked lighting, cannot share space at all.
That last limitation is decisive. A lightmap records how much light reached each part of the surface, and the left half of the shield, turned toward a fire, is not lit like the right half, turned toward the dark. If both halves sample the same texels, one of them is necessarily wrong. Overlapping UVs are therefore welcome in the texture that carries colour and material detail, and forbidden in any map that carries information about where the object actually sits in the world.
A Second Map for Baked Light
Unity resolves this tension by allowing a mesh to carry more than one set of coordinates. The first channel, Mesh.uv, serves the ordinary textures and may overlap, tile and mirror as freely as the artist likes. The second channel, exposed as Mesh.uv2, is reserved by convention for lightmaps, and it must obey stricter rules: every face gets its own space, nothing overlaps, everything fits within the unit square, and islands are separated by enough padding that the baked light does not leak between them.
Building that second layout by hand is tedious, so the model importer offers a checkbox named Generate Lightmap UVs in the Model tab of the import settings. When it is enabled, Unity unwraps the mesh automatically, cutting it along hard angles and packing the islands with a margin that the developer can tune. For most architectural props the result is entirely serviceable; for organic shapes, or for hero objects that will be seen closely under baked light, an artist may still prefer to author the second channel in the modelling tool.
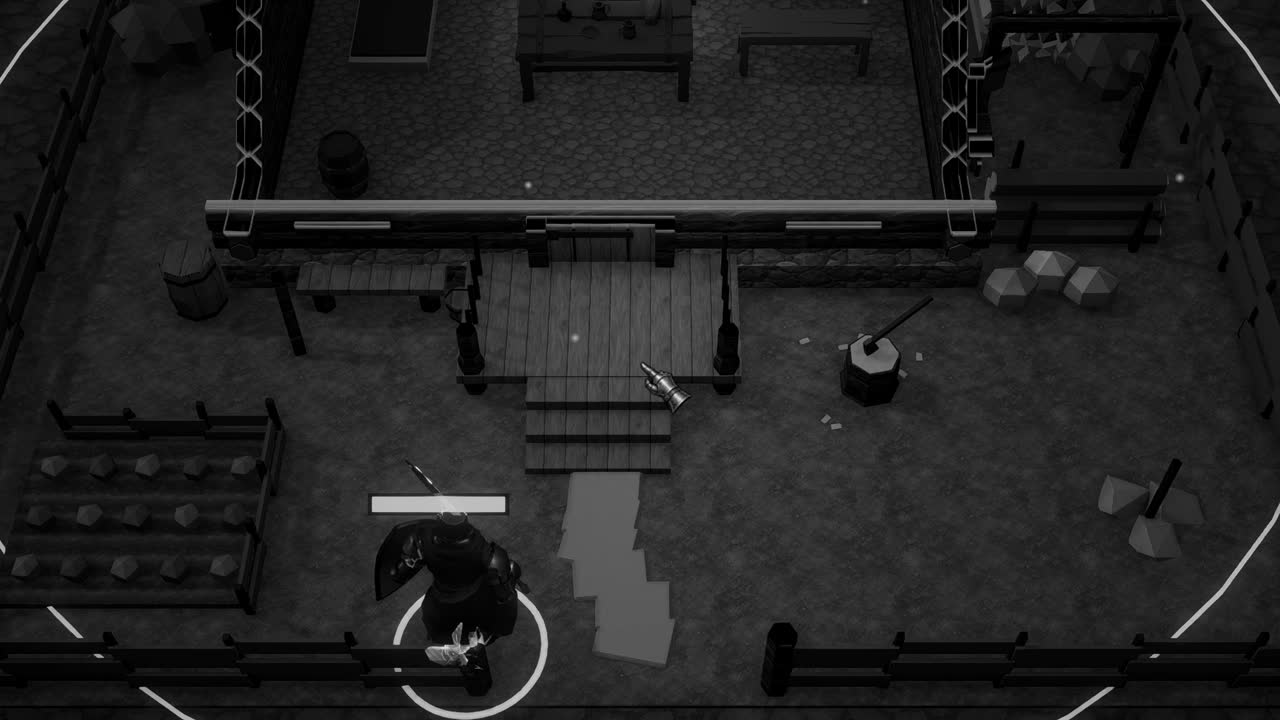
The Lightmapper then scales each object's share of the lightmap according to its size in the scene and its Scale In Lightmap setting, so that a palisade wall and a small stool receive light at a comparable density, much as texel density governs the colour textures. For a settlement of timber buildings at nightfall, the kind of scene Crown & Ashes is built around, any baked dimming along a wall would have to live in exactly such a quiet second map. The flat picture, once again, has been taught to wrap a shape.