Skeletal Animation, Rigging and Skinning
A character moves because an invisible skeleton moves first; the mesh merely follows, vertex by vertex, according to weights an artist painted, and nearly every animation bug can be traced to that quiet arithmetic.
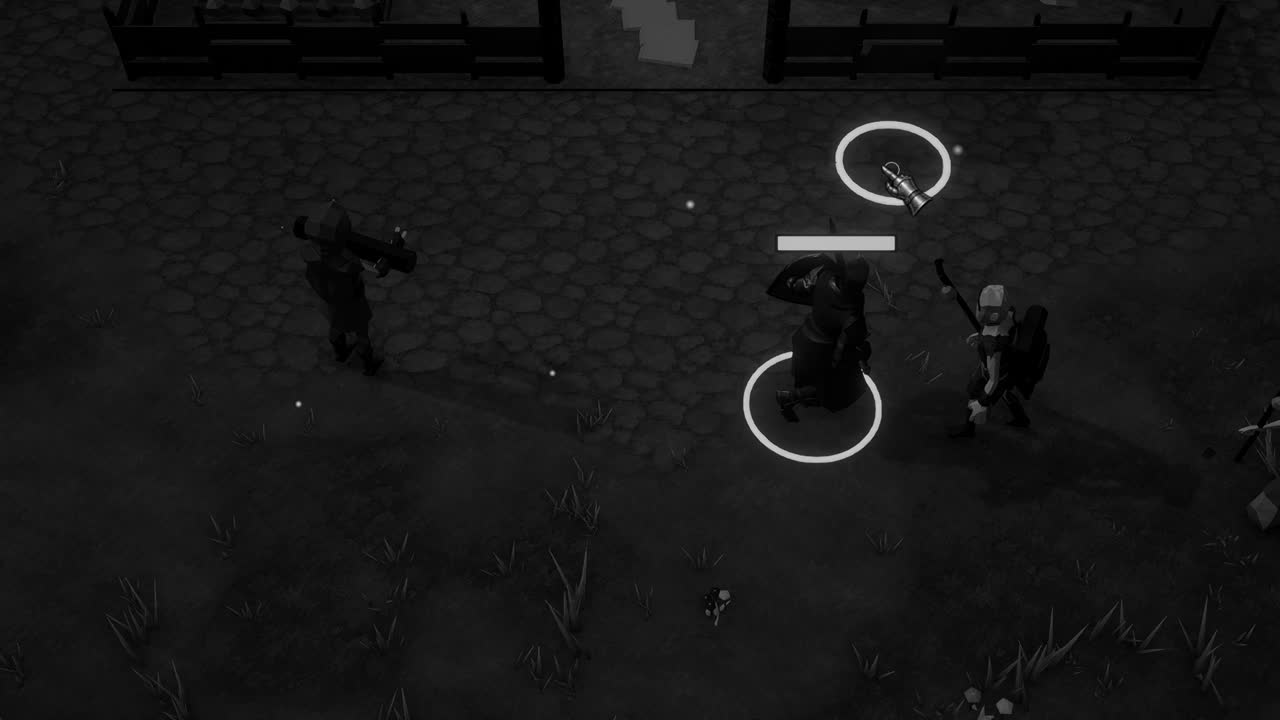
There is something faintly unsettling about the way a character in a game comes alive. The figure you see, with its cloak and its stooped shoulders and its hands that tremble a little when it is idle, is a shell of triangles that has no muscles and no will of its own. Beneath it, hidden from every player, lies a second figure made of nothing but lines and points, a skeleton in the most literal sense, and it is this skeleton that the animator actually moves. The visible body merely follows, dragged along like a garment over a frame of sticks.
The technique is called skeletal animation, and it has been the dominant way of moving characters in real time for decades, not because it is the most faithful imitation of flesh but because it is cheap, compact and wonderfully reusable. A few dozen bones, each storing a rotation per keyframe, can drive a mesh of tens of thousands of vertices. The same walk can be shared between a soldier and a farmer. The cost is a set of compromises that, if one does not understand them, will appear on screen as crumpled elbows and shoulders that collapse like wet paper.
What follows is an attempt to describe the whole chain honestly, from the hierarchy of joints to the painted weights that bind the skin to them, from the simple formula that does the deforming to the artifact that formula is notorious for, and finally to the machinery Unity builds on top: the SkinnedMeshRenderer that performs the work each frame, and the Mecanim Animator, with its Humanoid avatars, retargeting and blend trees, that decides which motion should be playing at all.
A hierarchy of joints
A skeleton, in the sense a game engine means it, is a tree of transforms. One bone sits at the root, usually at the hips or at a point on the ground beneath the character, and every other bone is a child of some parent: the spine hangs from the hips, the chest from the spine, the upper arm from the shoulder, the forearm from the upper arm, and so on out to the last joint of the smallest finger. Artists often say joint and bone interchangeably, and the confusion is harmless, since what is stored is really a joint, a pivot with a position, rotation and scale.
The essential property of this tree is that every transform is expressed relative to its parent. When the shoulder rotates, the elbow does not need to be told; its local rotation is unchanged, but because its parent has turned, its position in the world has swung through an arc, and the wrist and fingers swing with it. In Unity this is exactly how ordinary GameObject parenting already behaves, and a rigged model imported from an FBX file arrives as a nested hierarchy of plain Transform components, one per bone, that you can select and inspect in the editor.
This relative arrangement is what makes animation data so small. A clip for a walking character does not need to record where every finger is in world space on every frame; it records, for each bone, a local rotation curve, and occasionally a position curve for the root or for bones that genuinely translate. The engine then walks down the tree, multiplying each local matrix by its parent's world matrix, to obtain the final world transform of every joint. A careful reader will notice that this is the same composition of matrices used for any scene graph, applied to a chain of limbs.
Rigging is the craft of building this skeleton and fitting it to a mesh. The rigger places joints where the real anatomy would bend, names them consistently, orients their axes so that a forearm twists about its own length, and often adds helper bones that no animator touches directly, such as twist bones along the forearm or a jaw that a facial system drives. Good rigging is invisible in the finished game. Bad rigging announces itself the first time a character raises an arm above its head and the shoulder folds into a shape no living thing could make.
Weights and the bind pose
Once a skeleton exists, the mesh has to be attached to it, and the attachment is recorded in two pieces of data. The first is the bind pose: the posture, commonly arms outstretched in a T or slightly lowered in an A, in which the mesh and the skeleton were aligned when they were joined. For each bone the engine stores the inverse of its world matrix in that pose. Unity keeps these as the bindposes array on the Mesh, one matrix per bone, and they let the engine ask a simple question each frame: how far has this bone moved since the moment of binding?
The second piece is the set of skin weights. Every vertex is assigned a short list of bones that influence it, and a number for each that says how much. A vertex in the middle of the forearm may belong entirely to the forearm bone, with a weight of 1.0; a vertex at the crease of the elbow might be split, 0.5 to the upper arm and 0.5 to the forearm, so that it travels halfway between them. By convention the weights on a single vertex add up to one, which keeps the vertex from drifting away from the skeleton as a whole.
In Unity these influences live in the mesh's bone weight data, and the number of bones a vertex may listen to is limited by a quality setting called Skin Weights, which offers one, two or four bones, or an unlimited option on modern versions. Four is the traditional default and the figure most real-time pipelines were built around. Reducing it on distant or low-end characters saves work, but at the cost of harsher creases, because a vertex that may follow only one bone has no way to soften the transition across a joint.
Painting weights is slow, patient and slightly obsessive work, done in a modelling package with a brush that adds or subtracts influence while the artist bends the limb back and forth to watch the result. Automatic weighting tools give a reasonable start, but they tend to bleed influence where it does not belong, so that moving a thumb tugs at the palm or a raised leg drags a corner of the belly. Most of what players perceive as the quality of a character's animation is, in fact, the quality of this unseen painting.
Linear blend skinning and its flaw
The formula that turns bones and weights into a deformed mesh is called linear blend skinning, sometimes smooth skinning. For each vertex, the engine takes every influencing bone, computes that bone's current world matrix multiplied by its inverse bind matrix, transforms the original vertex position by the result, and then averages these transformed positions using the weights. A vertex weighted 0.5 and 0.5 between two bones ends up at the exact midpoint of where each bone, acting alone, would have carried it. The arithmetic is a handful of matrix multiplications and additions, perfectly suited to a GPU.
The trouble lies in that word midpoint. Averaging two positions that have been rotated about a common axis does not give a position that has been rotated halfway; it gives a point on the straight chord between them, which lies closer to the axis than either. When a joint bends sharply, the vertices on the inside of the bend are pulled inward and the limb loses volume. When a joint twists, as a wrist does when you turn a doorknob, the effect becomes dramatic: at a twist of 180 degrees, the two transformed positions of a split vertex land on opposite sides of the axis, and their average falls almost onto the axis itself.
The visible result is called the candy wrapper artifact, after the way a sweet's paper pinches to a narrow neck when its ends are twisted. The forearm narrows to a waist; the shoulder deflates when the arm is raised; a bent knee shows a hollow where flesh should bulge. Riggers fight it with the twist bones mentioned earlier, which spread a large rotation across several joints so that no single pair has to average across a wide angle, and with corrective blend shapes that push the vertices back outward when a joint reaches a known angle.
The SkinnedMeshRenderer at work
In Unity, the component that carries out all of this is the SkinnedMeshRenderer. Where an ordinary MeshRenderer draws a mesh that never changes shape, the skinned version holds a reference to a sharedMesh containing the bind poses and bone weights, an array called bones that lists the Transform for each joint in the same order the weights refer to them, and a rootBone used chiefly to compute the bounding volume. Each frame, it reads the current transforms of those bones, builds the skinning matrices, and deforms the vertices before they are drawn.
Where that deformation happens depends on settings and platform. With GPU skinning enabled, the work is done by a compute shader or in the vertex stage, which suits large crowds; without it, the CPU performs the blending and uploads the result. Either way, skinned meshes are noticeably more expensive than static ones, and a frequent surprise is the bounding box. Because the mesh moves away from its imported shape, the engine must guess a volume large enough to contain every pose, and if the guess is too small, a character whose arm reaches outward may be culled while still partly on screen.
The bones array also explains a whole family of baffling bugs. If a character is assembled from parts, with armour or a cloak imported from separate files, each SkinnedMeshRenderer must point at the same bone Transforms, in matching order, or its piece of the body will float in the bind pose while the rest walks away. Remapping that array by bone name when attaching clothing is a routine chore in any game with equipment, and the reason the order matters is now clear: the weights refer to bones by index, not by name, so the two lists must line up exactly.
Mecanim, avatars and retargeting
Moving the bones is the task of the Animator component, part of the system Unity has long called Mecanim. An Animator holds a reference to an Animator Controller, a graph of states, each of which usually plays an AnimationClip, and transitions between them governed by parameters that scripts set through calls such as SetFloat, SetBool and SetTrigger. On every frame the Animator evaluates the active clips, blends them where transitions overlap, writes the resulting local rotations and positions into the bone Transforms, and leaves the SkinnedMeshRenderer to discover those new values and deform the skin accordingly.
When a model is imported, its rig can be set to Generic or to Humanoid. A Generic rig keeps the bones exactly as they are and plays clips that were authored for that precise hierarchy. Choosing Humanoid asks Unity to build an Avatar, a mapping from the file's own bones onto a standard description of a human body: hips, spine, chest, neck, head, and the limbs and fingers with their expected ranges of motion. Humanoid clips are then stored not as raw rotations but in terms of that standard body, in what the documentation calls muscle space.
The reward for this indirection is retargeting. Because a Humanoid clip describes the motion of an abstract body rather than of particular bones, it can be played on any other Humanoid character, whether it is tall or short, long in the arm or broad in the shoulder, and the Avatar translates it into that skeleton's own joints. A team can buy or capture one library of motions and share it across an entire cast. The price is some loss of fidelity, especially in fingers and in props, and a Generic rig remains the right choice for a horse or a spider.
Blend trees and continuous motion
A state machine of individual clips is adequate when a character's actions are discrete, but locomotion rarely is. A creature does not choose between walking and running as between two doors; its speed varies continuously, and an animation system that snaps from one clip to another every time a threshold is crossed looks mechanical. The answer in the Animator is the blend tree, a special state that holds several clips at once and mixes them according to one or more parameters, so that a speed of 2.5 might produce a motion halfway between a walk authored at 1.5 and a jog authored at 3.5.
Blend trees come in a few shapes. A 1D blend tree arranges clips along a single parameter, typically speed. Two-dimensional types arrange them on a plane, so that one axis can be forward velocity and the other sideways velocity, letting a character strafe and walk diagonally with clips for each cardinal direction; Unity offers Simple Directional, Freeform Directional and Freeform Cartesian variants depending on how the clips are laid out. There is also a Direct type in which each clip's weight is driven by its own parameter, useful for facial expressions.
Blending only works well when the clips agree with one another. A walk and a run mixed together will shuffle and skate unless their cycles are of comparable phase, both planting the left foot at the same normalized moment, and Unity synchronizes the clips' normalized time inside a blend tree precisely so that feet stay coordinated. In a game like Crown & Ashes, where a villager might stroll to the woodpile by day and break into a frightened run as the Hunger closes in at night, that continuity is the difference between a person and a puppet.