Post-Processing: Bloom, Tone Mapping and Colour Grading
The rendered frame is raw material rather than a finished picture, and post-processing is the darkroom where light that the screen cannot hold is compressed, softened and given a mood.
When the renderer has finished drawing every object, lit every surface and resolved every shadow, the image it holds is not yet the image the player will see. It is closer to a photographic negative: a record of light, often brighter in places than any screen can reproduce, flat in tone, without the softness of glare or the mood of a chosen palette. What happens next, in a sequence of passes over the whole frame, is called post-processing, and it does more to set the feeling of a game than most players would ever suspect.
Post-processing effects operate on the finished image rather than on the geometry. Each one reads the colour, and sometimes the depth, of every pixel, computes something new and writes the result to another buffer. Because they work in screen space, their cost depends on resolution rather than on the complexity of the scene; a frame containing a single cube costs as much to tone map as a frame containing a city.
The effects themselves are borrowed largely from photography and cinema, whose vocabulary of exposure, bloom, vignette and grading the field has adopted almost wholesale. Understanding why they exist, and what each actually computes, helps a developer use them with restraint, which matters, because few things date a game more quickly than effects applied with an indiscriminate hand.
Light beyond the screen
A monitor can display colour values between zero and one in each channel, and for a long time renderers simply computed values in that range, clamping anything brighter. The trouble is that real light is not so tidy. The sun is many thousands of times brighter than a candle, and a torch flame seen at night is enormously brighter than the wall it illuminates. Clamping flattens all of those differences into the same white, destroying exactly the information that would make bright things look bright.
tone mapping.">High dynamic range rendering solves this by storing colour in floating point buffers, such as sixteen bit half floats per channel, where values well above one are allowed. A lamp may be written as twenty, a sunlit stone as three, a shadowed corner as a small fraction. The frame then holds a faithful record of relative intensities, and the work of fitting that record onto a display is deferred to a later, deliberate step. In URP, HDR is enabled on the pipeline asset and the camera.
This deferral is the foundation on which most post-processing rests. Bloom needs to know which pixels are truly brighter than white; tone mapping needs the full range to compress gracefully; colour grading behaves more predictably when applied before the range is crushed. A pipeline that renders in low dynamic range can still apply effects, but they operate on information that has already been thrown away, and the results are correspondingly cruder.
Tone mapping and the compressed range
Tone mapping is the step that brings the high dynamic range image into the displayable range. The naive approach of dividing everything by the brightest value would make most of the scene very dark; clamping would wash highlights into flat white. A tone mapping operator instead applies a curve that preserves contrast in the middle tones, where most of the image lives, while rolling off the highlights gradually so that bright areas retain some gradation rather than ending in a hard edge.
URP and HDRP offer two common operators in the Tonemapping override. ACES is based on the Academy Color Encoding System used in film production; it gives a contrasty, cinematic response, darkens shadows somewhat and desaturates very bright colours toward white, much as overexposed film does. Neutral applies a gentler curve that changes hue and saturation as little as possible, leaving more of the image's character to later grading. Neither is correct in an absolute sense; they are aesthetic starting points.
Exposure sits in front of the curve and decides which part of the range lands in the middle. In HDRP, exposure can be fixed or automatic, adapting over time as the camera moves from darkness into daylight, imitating the eye's slow adjustment. URP offers less automatic control, but the principle is the same: tone mapping can only compress what exposure has positioned well, and a scene that is too dark before tone mapping will remain murky afterwards.
Bloom and its threshold
Bloom imitates the glow that surrounds very bright light in a camera lens or in the eye, where light scatters and spills into neighbouring areas of the image. Its implementation begins with a threshold: only pixels brighter than a given value contribute. Those pixels are extracted, then repeatedly downsampled into a chain of smaller images and blurred, and the chain is upsampled and added back together, producing a soft halo whose size depends on how far down the chain the effect reaches.
The threshold is where taste and physics meet. In an HDR pipeline it can be set near or above one, so that only genuinely luminous things such as flames, sun glints and magic glow, rather than every white shirt, bloom. Set too low, the effect spreads a milky haze across the whole frame, the familiar look of games from a certain era. URP's Bloom override also exposes Intensity, which scales the added glow, and Scatter, which controls how widely it spreads.
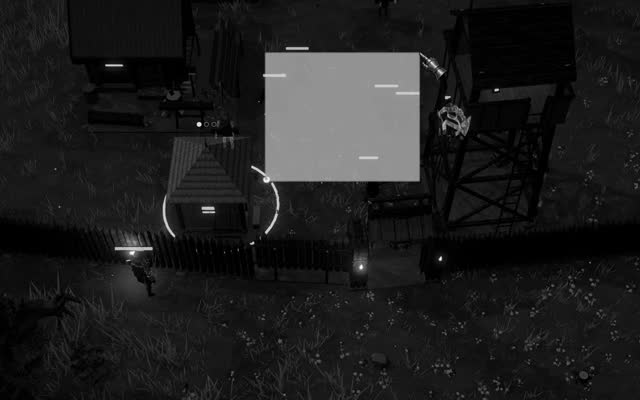
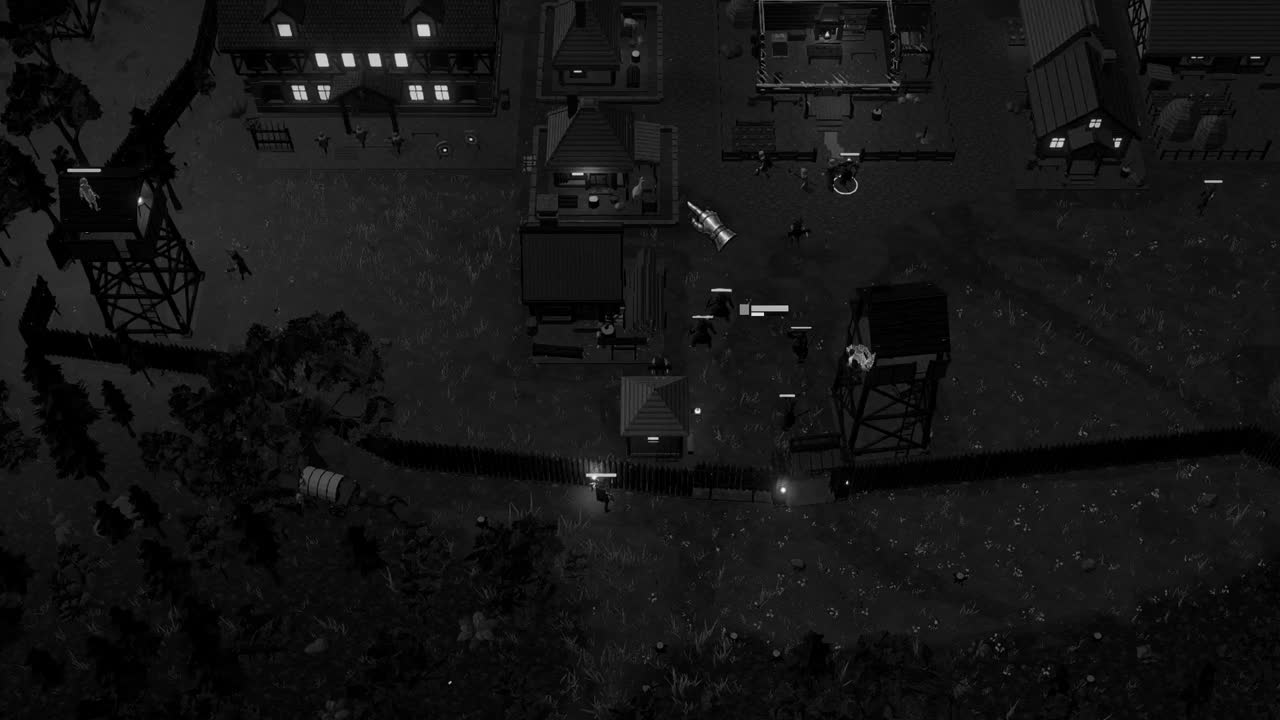
Bloom is at its best when used sparingly to distinguish emissive sources from lit surfaces. A village at night under a dark sky, the kind of scene Crown & Ashes is built around, gains much from a modest bloom on the torches and the hearths, because it tells the eye at once which things are giving off light and which are merely receiving it. Applied to everything, the same effect erases that distinction instead of supporting it.
Vignette and colour grading
A vignette darkens the edges and corners of the frame, an echo of the light fall off in real lenses. Its practical value lies in directing attention toward the centre of the screen and in framing the image so that it feels composed rather than cut from a larger whole. Like bloom, it is easily overdone; a strong vignette reads as a stylistic statement and can obscure information the player needs near the edges, such as threats approaching from the side.
Colour grading is the more powerful instrument. It alters the colours of the whole image after rendering to establish mood and coherence: warming the shadows, cooling the highlights, pulling saturation from greens, lifting the black point. URP exposes this through overrides such as Color Adjustments, White Balance, Channel Mixer, Lift Gamma Gain and Shadows Midtones Highlights, each acting on a different aspect of the colour response.
Many such adjustments are combined, internally or by the artist, into a lookup table, often shortened to LUT. A LUT is a small texture representing a three dimensional grid of colours: for any input colour, the shader looks up the corresponding output. Because any chain of colour operations can be baked into one table, the final grading costs a single texture fetch per pixel. Artists can author a grade in external software, export it as a LUT and apply it through URP's Color Lookup override.
Where the grade is applied in the chain matters. URP's pipeline asset offers a Grading Mode with two options: Low Dynamic Range, in which grading happens after tone mapping on values already squeezed into the displayable range, and High Dynamic Range, in which grading works on the scene's full range before the tone mapping curve. The second preserves more precision in bright areas and suits HDR output, at a modest extra cost, while the first is cheaper and adequate for many projects aimed at ordinary displays.
The Volume framework
In URP and HDRP, post-processing is configured through the Volume framework. A Volume component holds a reference to a Volume Profile, which is an asset containing a list of overrides, such as Bloom, Tonemapping and Vignette, each with its own parameters. A camera must have post-processing enabled for the effects to apply. Volumes are evaluated relative to the camera, and the parameter values that reach the renderer are a blend of all the Volumes that affect it.
A Volume set to Global mode affects the camera everywhere, which suits the baseline look of a scene. A Volume set to Local mode uses a collider to define its region, and its overrides take effect only when the camera is inside, with an optional Blend Distance over which they fade in. Priority decides which Volume wins when several overlap, and Weight scales a Volume's influence, so a cave can darken and cool the image gradually as the player enters it.
Volumes can also be driven from script, which turns post-processing into a narrative tool. Adjusting a Volume's weight over time can drain colour as a character's health falls, or flood the screen with warmth at dawn. Calling TryGet on the profile hands back the override of a given type, if the profile contains one, and its parameters can then be changed directly. These changes are cheap, because the passes themselves remain the same; only their inputs vary.
The cost on modest hardware
Every post-processing effect touches every pixel, often more than once. At 1920 by 1080, a single full screen pass processes 2,073,600 pixels, reading from one buffer and writing to another. On desktop GPUs with generous memory bandwidth, a handful of such passes is affordable. On mobile GPUs the arithmetic is rarely the problem; the bandwidth is, because writing a full frame out to memory and reading it back is among the most power hungry operations a phone performs.
URP mitigates this by combining many effects into a single uber shader pass: tone mapping, colour grading through a LUT, vignette and the final composite of bloom can all run in one pass when possible. Bloom itself remains comparatively costly, because its chain of downsampling and upsampling passes cannot be merged away, though URP offers settings such as a lower resolution start and fewer iterations to reduce it. Effects that need depth, such as depth of field, add further cost.
The practical approach on modest hardware is to choose a few effects that carry the look and drop the rest. Tone mapping and a LUT grade are cheap once combined and contribute enormously to the image; bloom can often be reduced or switched off on the lowest quality tier; effects like motion blur and screen space ambient occlusion are usually the first to go. The profiler on the actual device, rather than in the Editor, is the only reliable judge of what remains affordable.